Maple Walnut popcorn

IMAG0469

After going to a food exchange where someone made maple pecan popcorn(which I wasn’t able to trade for) I decided to attempt to replicate it. I had popcorn and maple syrup from my food share, but I didn’t have pecans so used walnuts instead. This is an extremely sweet and heavy snack but extremely good.

Ingredients:

  • 8 cups of popcorn NOTE: This is the yield from about 1/2 cup popcorn kernels. If you want to know how to pop your popcorn kernels on the stove click here or in the microwave click here
  • 3/4 cup chopped walnuts or pecans
  • 1/4 stick butter
  • 1/2 cup maple syrup
  • 1 tsp vanilla
  • pinch of salt

Directions:

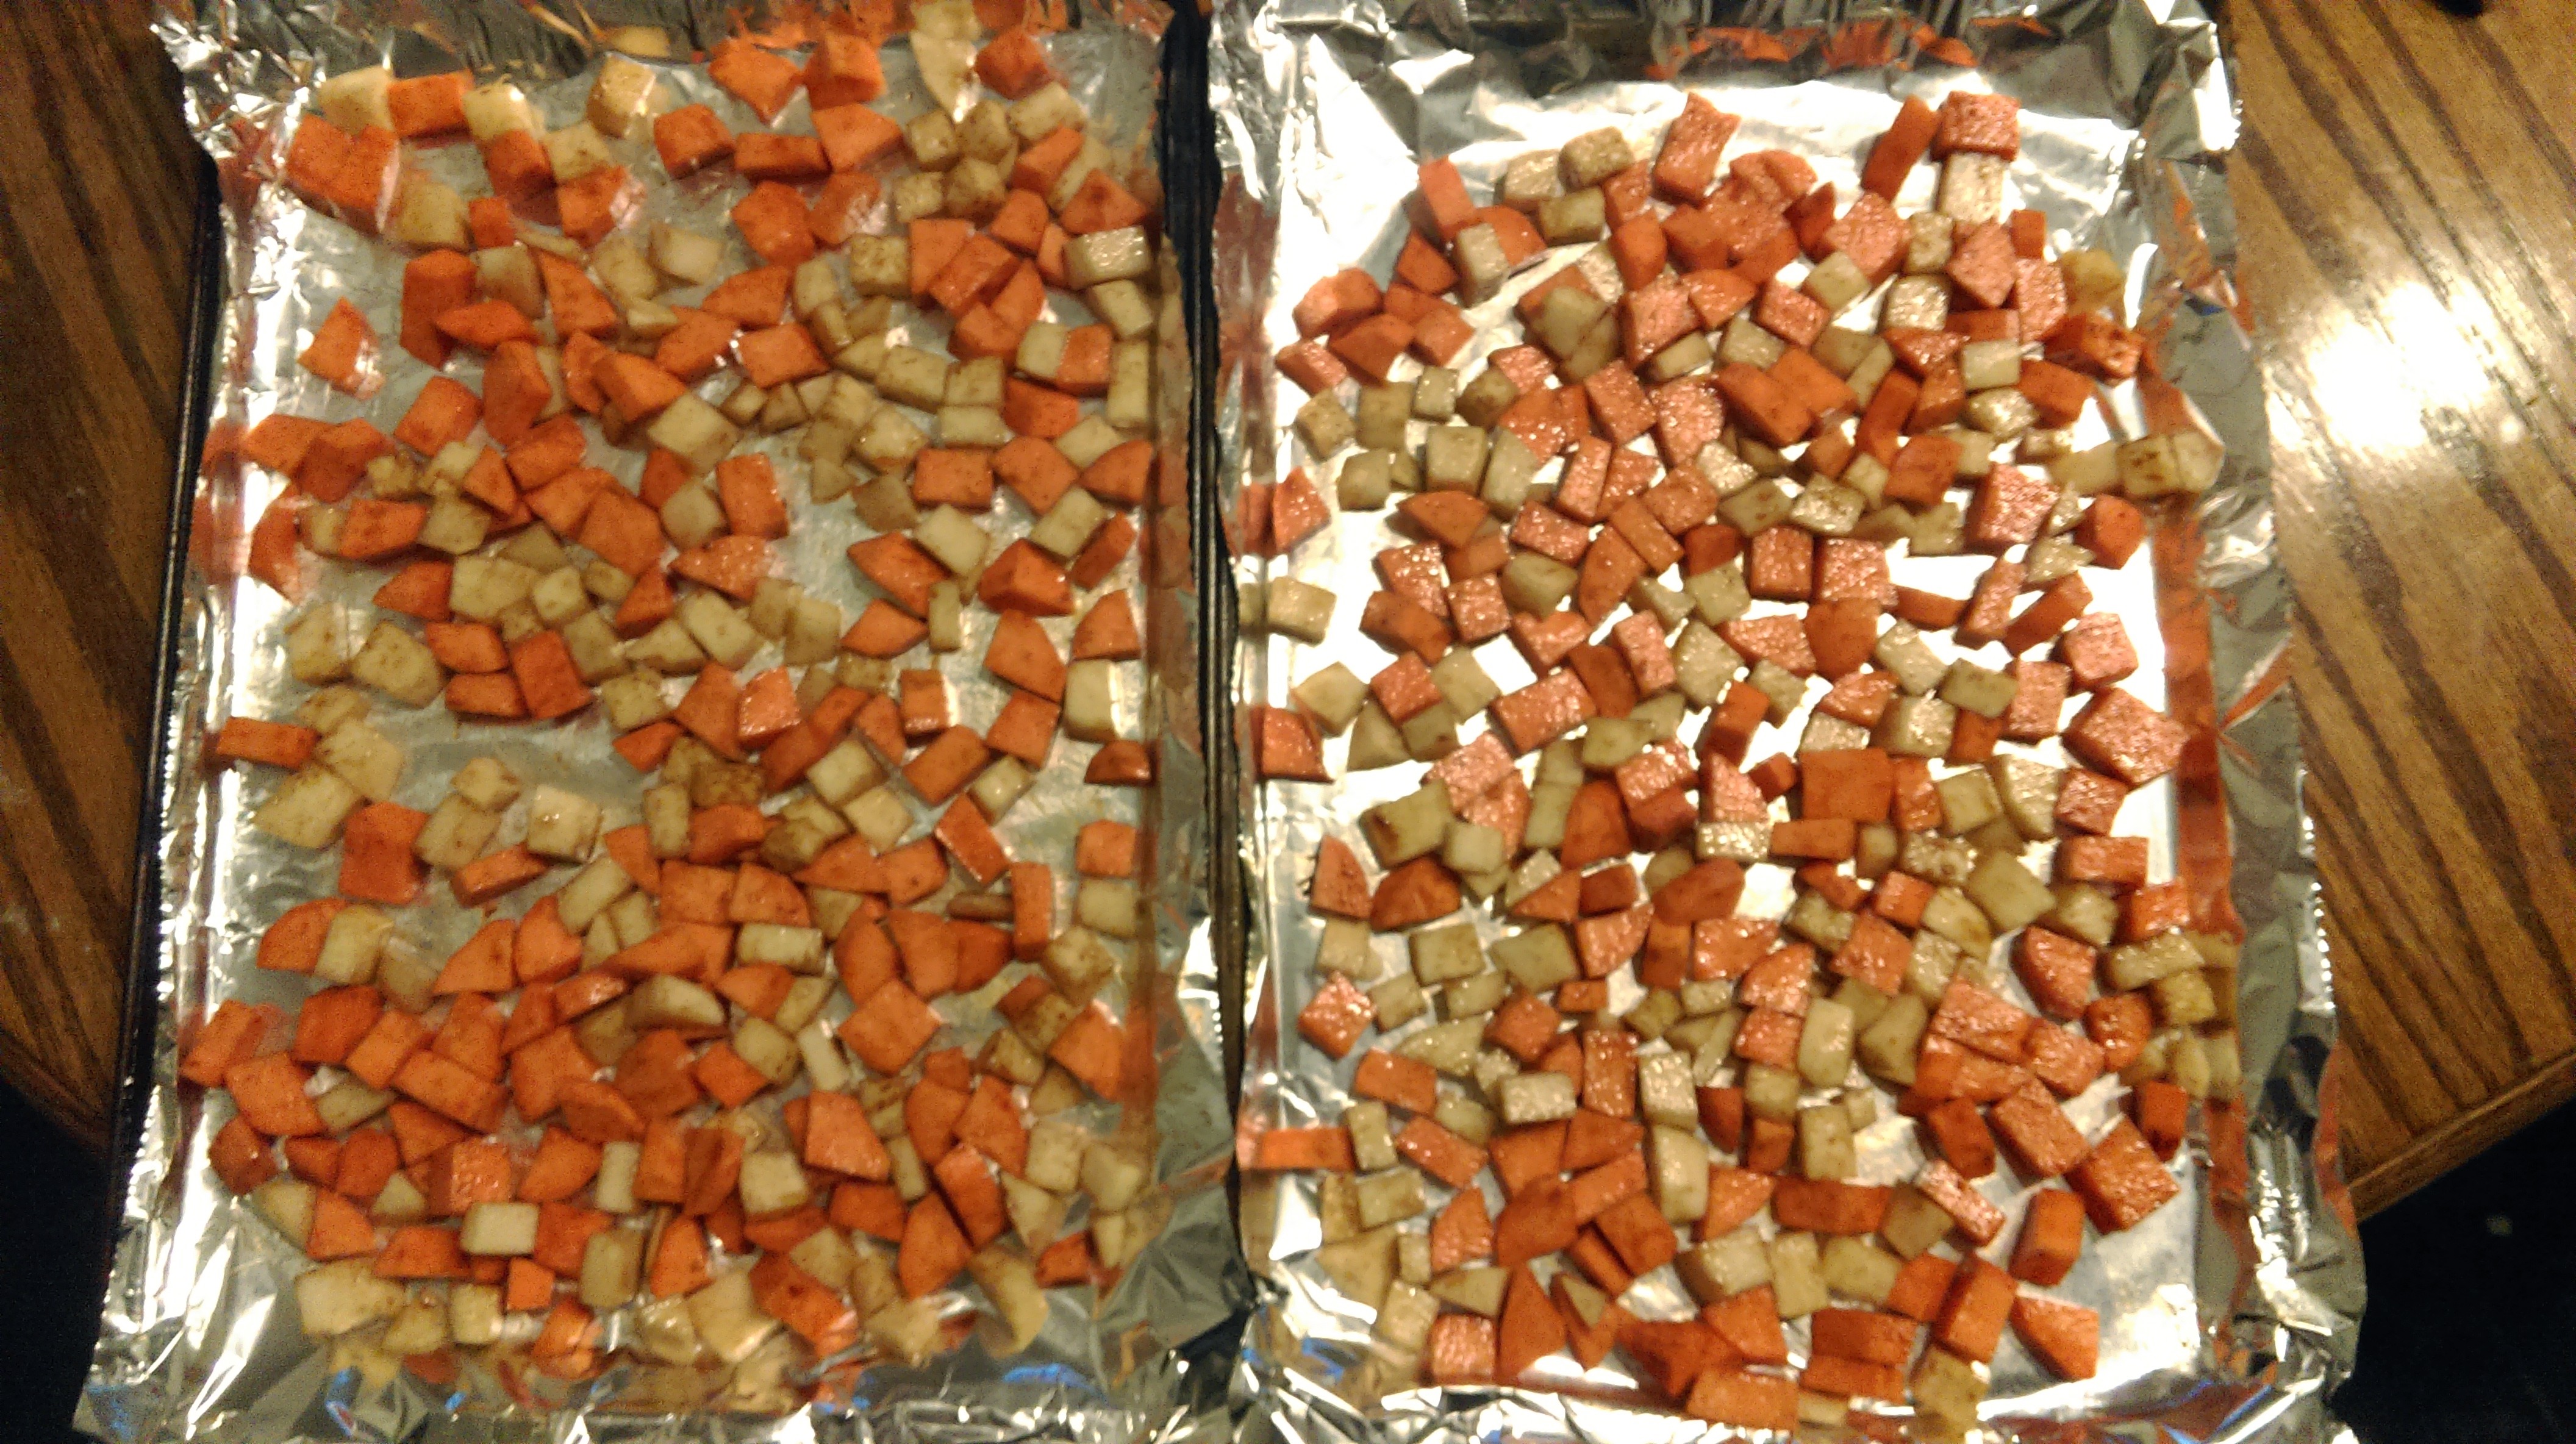
  1. Toss your popcorn and nuts together to combine.
  2. Line 2 baking trays with parchment paper and evenly spread out the popcorn/nut mixture on the two trays.
  3. In a small saucepan, over medium heat, melt the butter.
  4. Add maple syrup and salt and boil (still over medium heat),stirring occasionally. Cook for 15-20 minutes or until mixture is well combined, heated through and slightly thickened.IMAG0462
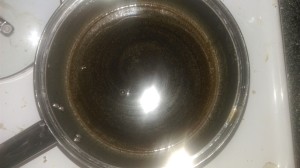
  5. Take off heat and stir in vanilla.
  6. Immediately pour over popcorn and quickly toss to coat. Allow to cool before eating.
  7. Store in an airtight container at room temperature for up to three days.

Servings: 8 Serving size: 1 cup

nutritionmaplewalnutpopcorn

estimated by http://www.caloriecount.com/

Stovetop Popcorn

IMAG0452

This is a super easy method for popping popcorn on the stove if you want to save money by buying kernels in bulk but you don’t want to invest in a popcorn maker. This recipe is for a single serving but you can easily increase the amount.

Ingredients:

  • 2 tbsp popcorn kernels NOTE: You can easily scale this recipe to make large amounts of popcorn at once. Just keep in mind that 2 tbsp of popcorn yields about 2 cups popped. Example: if you want 8 cups of popcorn use 1/2 cup of kernels and about 2 tbsp butter/oil to keep the popcorn from sticking.
  • 1 tsp butter or olive oil(for a dairy-free and slightly healthier popcorn)
  • Optional: Salt and/or seasonings of your choice

Directions:

  1. In pot(that has at least a 4 cup capacity) melt the butter over medium-high heat. NOTE: If you are using more kernels use a larger pot so it doesn’t overflow. A good rule of thumb is use a pot with a capacity of at least 2 cups more than the amount of popped popcorn you expect to make.
  2. Pour in the popcorn kernels and cover the pot.
  3. When the kernels start popping shake the pan keeping contact with the burner to move kernels around and prevent burning while still cooking. If you use a pot with a heavy bottom(like a soup pot) you will not have to shake as often but with a regular pot you will want to shake it often.
  4. When popping slows, remove from stove top and season with salt and/or other seasonings or serve plain. For a sweet treat you can make maple walnut popcorn(recipe here).

Servings: 1 Serving Size: 2 cups popped

nutritionpopcorn

estimated by www.caloriecount.com

Popcorn on the cob

IMAG0353

The first time I received popcorn on the cob in my food share I was a little disappointed because I thought it was just a decoration. Then a friend told me it was actually popcorn and is actually super easy to pop. Read on to find out how easy.

Ingredients:

  • Popcorn on the cob NOTE: You can also use this method to pop popcorn kernels that are separated from the cob. Use 2 tbsp of popcorn kernels.

Directions:

  1. Remove the stalk from your dried corn if it is still attached.IMAG0346
  2. Place the corn in a brown paper bag. NOTE:Only place one cob or 2 tbsp of kernels per bag or it may overflow.
  3. Fold the top of the bag down 2-3 times and lay the bag down so the fold is down on the bottom of the microwave. You want this to be able to let steam escape but still remain closed so the popcorn doesn’t flow out into your microwave.IMAG0352
  4. Microwave for 2-4 minutes or until you hear the popping sounds become infrequent. Do not microwave for more than 5mins as  your popcorn might burn.
  5. Add the seasonings of your choice or serve plain and enjoy. Yields about 2 cups popped popcorn. This will stay in an airtight container at room temperature for a day or two. If you want to try maple walnut popcorn the recipe is here.IMAG0354

Servings: 1 Serving Size: 2 cups

nutritionpopcorn

estimated by http://www.caloriecount.com/

Healthy Red Velvet cake Smoothie

IMAG0522

Most people dread the winter because of the cold, but I dread it because it is beet season:( I cannot stand beets by themselves but I seem to get them every week for the 10 week winter food share and always struggle to find ways to sneak them into my diet. One of my favorite way to do so is to sneak them into baked goods like my red velvet cupcakes but this week I wanted to try to cut out some of the sugar and carbs by making a variation of my healthy chocolate milkshake that had some beet puree mixed in. After some tweaking of the recipe I got what tasted like a liquid red velvet cupcake, hence the name of this milkshake. It is a delicious way to sneak some beets in and can be made sugar-free for those of you on the 21 day sugar detox.

Ingredients:

  • 1 banana (Use green tipped if on the 21 day sugar detox)
  • 1/4 cup beet puree
  • 1/4 cup unsweetened cocoa powder
  • 1/2 cup full fat coconut milk NOTE: I used coconut milk to make this dairy free but you can use any kind of milk you want
  • 1/2 tsp vanilla extract
  • 1-2 tbsp molasses or honey NOTE: If you are on the 21 day sugar detox omit this added sugar. I used 1 tbsp of molasses and 1 tbsp of honey in mine because I hate the flavor of beets and this came out VERY sweet so next time I would half the amount of each molasses and honey but I like having both of them in the drink.
  • 4-5 ice cubes

Directions:

  1. Add all you ingredients into a food processor or blender and blend until smooth(about 3 mins).
  2. Serve chilled. Left overs will last in the fridge for 1 week or in the freezer for up to 3 months.

NOTE:This is a super filling smoothie so even though the nutrition is for two servings, you can easily stretch this into 3-4servings if you are having it as a dessert or snack.

Servings: 2 Serving Size: 1/2 smoothie recipe(approx. 1/2 cup)

nutritionhealthyredvelvetsmoothie

estimated by http://www.caloriecount.com/

Brown Sugar Cinnamon Roasted Root Veggies

IMAG0517

Bored of plain roasted root veggies? Me too. By the end of fall/winter I have enough of the endless beets, turnips, rutabegas, squashes and seemingly endless variety of potatoes. So I have tried a few ways to spice them up. This is a method to make those roasted root veggies taste like dessert.

Ingredients:

  • 6 cups root vegetables, chopped into 1 inch pieces NOTE: I used half sweet potatoes and half rutabegas. Three cups of sweet potato was approximately 2  sweet potatoes, and three cups of rutabagas was 4 medium rutabegas.
  • 2 tbsp olive oil
  • 2 tbsp brown sugar
  • 1 tsp cinnamon

Directions:

  1. Preheat oven to 375°F. Cover two baking sheets with aluminum foil for easy clean up later.
  2. Chop your root veggies into 1 inch pieces and place into a large mixing bowl.
  3. Add the olive oil, brown sugar, and cinnamon and toss to coat.
  4. Spread the veggies into a single layer, distributing them evenly between the two baking sheets.IMAG0513
  5. Bake in the oven for 30-45 mins, stirring/turning the trays around occasionally(I like to do this every 15 mins) to ensure even cooking. The veggies are done when they are browned and soft.
  6. Serve warm. Will stay in the fridge for up to a week or in the freezer for 3 months in an airtight container.

Servings: 6 Serving Size: 1 cup

nutritionbrownsugarcinnamonrootveggies

estimated by http://www.caloriecount.com/

Bacon Vinaigrette

IMAG0543IMAG0540

This is not a typical oil and vinegar vinaigrette and makes for more of a chunky topping unless you puree it, but I didn’t know what else to call it. I got the recipe from epicurious where they used it as a topping for mashed root veggies. It also goes great as a topping on chicken or fish. You can also add a bit more liquid and puree it in a blender to make a killer salad dressing.

Ingredients:

  • 1/2 cup apple cider vinegar
  • 2 tablespoons yellow mustard seeds
  • 1/2 pound  bacon, diced NOTE: I used 1(12 oz) package of Whole foods thick cut bacon
  • 1 large white onion, diced
  • 1 tablespoon (packed) brown sugar NOTE: I used maple sugar which I got in my food share, but you can use any kind of brown sugar

Directions:

  1. Bring vinegar, mustard seeds, and 1/4 cup water to a simmer in a small pot and until seeds are plump, 20-25 minutes.
  2. Separate the cooking liquid and seeds by draining the seeds over a measuring cup so you reserve both in separate containers. Set aside.
  3. Meanwhile, cook the bacon in a large skillet over medium heat, stirring occasionally until the fat begins to render and the bacon begins to get crispy(about 5-10 mins)
  4. Add the onions, increase the heat to medium-high and cook until the onions are translucent and soft and the bacon is crispy(5-10 mins)
  5. Add reserved mustard seeds to bacon mixture and cook until seeds begin to pop, about 2 minutes.
  6. Turn off heat and stir in the brown sugar and reserved mustard seed cooking liquid.
  7. Serve drizzled over mashed root vegetables like carrot and rutabega (recipe here) or transfer mixture to food processor/blender and add 1 tbsp olive oil and 1/4 cup water and pulse until liquid dressing forms. You may have to adjust the water and olive ratios to get the desired consistency. Serve warm or at room temperature.Will stay in the fridge for up to 2 weeks.IMAG0538

Servings: 16 Serving Size: 2 tbsp

nutritionbaconvinaigrette

Estimated by http://www.caloriecount.com/

Beet and Feta Grilled Cheese

IMAG0536

This is a grown up version of the classic grilled cheese that is healthy and super simple to make. If you pre-roast your beets this is also super quick to prepare.

Ingredients:

  • 2 slices bread
  • 1 medium beet, roasted
  • 2 tbsp feta cheese
  • 1/2 tbsp olive oil or butter

Directions:

  1. If you have already cooked/roasted your beets, reheat them in the microwave for a few seconds or oven for a few minutes. Then skip to step__. Otherwise, preheat your oven to 375°F.
  2. Clean the outside of your beet very well. You can leave the skin on for roasting. Cover the beet in aluminum foil and place on a baking sheet.
  3. Roast in the oven for 45-60mins or until the beet is squishy and soft.
  4. Let the beet cool a bit and then rub off the skin. Slice the beet into 4 equal sections
  5. Place the beets onto one slice of bread then top with the feta cheese. Cover with the other slice of bread
  6. Heat your olive oil or butter in a skillet over medium heat. The add your sandwich to the pan.
  7. Fry on each side for 3-4 mins or until each side is golden.
  8. Serve immediately.

Servings: 1 Serving size: 1 sandwich

nutritionbeetfetagrilledcheese

estimated by http://www.caloriecount.com/

Thai Peanut Sauce/Dressing

IMAG0548

I found this recipe on epicurious.com and loved it for its versatility and flavor. You can adjust the amount of water to make  a thick sauce for putting over cooked veggies or meats or make it a dressing for salads by thinning it a bit. It can also be modified slightly so you never get bored.

Ingredients:

  • 1″ piece ginger, peeled
  • 1 small garlic clove
  • 1/2 cup creamy peanut butter
  • 2 tablespoons liquid bragg aminos (or soy sauce)
  • 1 tablespoon fresh lime juice (yield from 1 small lime)
  • 1 teaspoon (packed) light brown sugar
  • 1/4-3/4 cup water

Optional:

  • 1/4 -1/2 teaspoons crushed red pepper flakes
  • 2 tbsp coconut Milk

Directions:

  1. In a food processor or blender, blend the ginger and garlic until they are finely chopped/minced.
  2. Add the peanut butter, aminos/soy sauce, lime juice, brown sugar and 1/4 cup water and blend. NOTE: If you want sauce with a little spice add some red pepper flakes. I only added a pinch to mine since I don’t like spice. Now is also the time to add your coconut milk if you want a creamy dipping sauce.
  3. Check the consistency of your sauce now. If you want a thinner sauce for dressing add more water or use it as is as a sauce for meat and veggies. IMAG0544
  4. The sauce will stay in the fridge for 1-2 weeks.

Servings: 16 Serving Size: 1 tbsp

nutritionthaipeanutsauce

estimated by http://www.caloriecount.com/

Healthy Gluten-Free Pancakes

IMAG0554

This healthy gluten-free, dairy-free pancake recipe is quick and easy to whip up. It can also be made 21 day sugar detox friendly by using green tipped bananas. They are delicious on their own or you can sweeten it up by adding berries or chocolate chips into the mix and/or by topping with maple syrup, butter, yogurt, honey, or whatever you want!

Ingredients:

  • 1 ripe banana NOTE: If you are on the 21 day sugar detox use a green tipped banana, otherwise use a very ripe banana so it mashes easily
  • 1 egg NOTE: you can also substitute 2 egg whites if you want to make this a little lighter
  • 1/4 tsp vanilla extract
  • 1/8 tsp almond extract
  • 1/2 tsp cinnamon

IMAG0552

Optional:

  • Berries(any type of berry will work, but strawberries or blueberries are my favorites)
  • Chocolate chips

Directions:

  1. Heat a medium size skillet on medium heat so it gets nice and hot by the time you are ready to add your batter. You will know it is hot enough when you drop a little bit of water in the pan and it sizzle and evaporates quickly. You may also want to add a little butter or oil right before you add your batter to keep the pancake from sticking
  2. Mash the banana in a small mixing bowl with a fork. NOTE: If you are using a less ripe banana you might want to use a blender to puree the banana so you don’t have large banana chunks in your pancakes
  3. Add the egg, cinnamon, and vanilla and almond extracts. Mix together.
  4. Pour your batter into your preheated pan and cook for 2-4 mins.
  5. Flip the pancake over and cook for another 2-4 mins.
  6. Serve immediately plain or topped with your favorite pancake toppings.

Servings: 1 Serving Size: 1 plain pancake

nutrition gluten free pancake

estimated by http://www.caloriecount.com/

Dye-free Red velvet cupcakes (Dairy-free)

IMAG0481

I am allergic to food dye so I have to get creative with certain recipes like red velvet cake. I also have a friend who is allergic to dairy so I kind of mixed and matched red velvet recipes I have used in the past to get a dye and dairy free cake that is healthy and delicious. This cake uses beets to achieve that red velvet cake color and uses applesauce and coconut oil in place of the dairy. Be careful not to over cook these as they already have a tendency to be dry and even another minute or two in the oven could make these have a bread-like dryness instead of a moist cupcake texture.

Ingredients:

  • 1 cup beet puree
  • 1 cup unsweetened applesauce
  • ¼ cup coconut oil, melted
  • 4 large eggs
  • 1 teaspoon almond extract
  • 1 teaspoon vanilla extract
  • 2 cups + 2 tbsp all purpose flour
  • 5 tbsp corn starch
  • 1 1/4 cups raw granulated sugar
  • 3/4 cup unsweetened cocoa powder (not Dutch processed)
  • 1 1/2 teaspoons baking powder
  • 1/2 teaspoon baking soda
  • 1/8 teaspoon salt

Directions:

  1. Preheat oven to 350°F and line a muffin tray with 12 baking cups( or grease the muffin pan if you don’t have baking cups).
  2. Mix the beet puree, applesauce, coconut oil, and eggs in a large bowl.
  3. Stir in the vanilla and almond extracts.
  4. Add in all the dry ingredients (flour, cornstarch, sugar, unsweetened cocoa powder, baking soda, baking powder, and salt) and then mix everything together.
  5. Fill each cup in the muffin pan 3/4 of the way full.IMAG0473
  6. Cook the cupcakes at 350°F for 18-22 mins or until a toothpick inserted into the center comes out clean.IMAG0477
  7. Allow the cupcakes to completely cool before frosting them. If you want to add frosting some good choices are cream cheese frosting(recipe from Martha Stewart here), paleo(ish) vanilla buttercream frosting(recipe here) or dairy-free coconut cream whipped frosting (recipe here).IMAG0485

Servings: 21 Serving Size: 1 cupcake(without frosting)

nutritionredvelvetnodairy

estimated by http://www.caloriecount.com/